A vine charcoal copy of a drawing by Ernest Laurent of Georges Seurat. (I thought it was a drawing by Seurat of Laurent until I realised I was reading the caption incorrectly, though Seurat has made some beautiful tonal drawings.)
I copied this from a full page reproduction in Juliette Aristides book Classical Drawing Atelier at almost sight size. Even so, this is a different face from the one in the book. The forehead is higher and the gaze more stern. The features in the original are more round and gentle. The tiniest change made to the shape of an eye with the tip of a sharpened stick of charcoal could transform the face dramatically.
Laurent gives the illusion of a rough sketch with his quickly drawn lines around the edges of the picture. The face in the centre, however, has a precision and diffuse softness which was hard to reproduce. For some of the background areas of the drawing I tried blending the charcoal into the laid charcoal paper with a screwed-up piece of kitchen paper, but this creates an even smudgy grey rather than the clean halftones of Laurent’s original. Laurent’s mid greys seem to be a clean black dot on an untouched paper background, much like the halftone dots of a newspaper photograph.
As I’ve mentioned before, vine charcoal is lovely to draw with, being very maleable and erasable, but the finished drawing is so ridiculously susceptible to damage that I think even the process of putting a drawing behind glass in a frame would risk some smudging.
One solution would be to use a spray fixative. Up until now, I’ve had two reservations about this: that the fixative would darken or shift any delicate tone changes in the drawing, and that individual drops of spray would create a coarse, blotchy mess on a smooth areas.
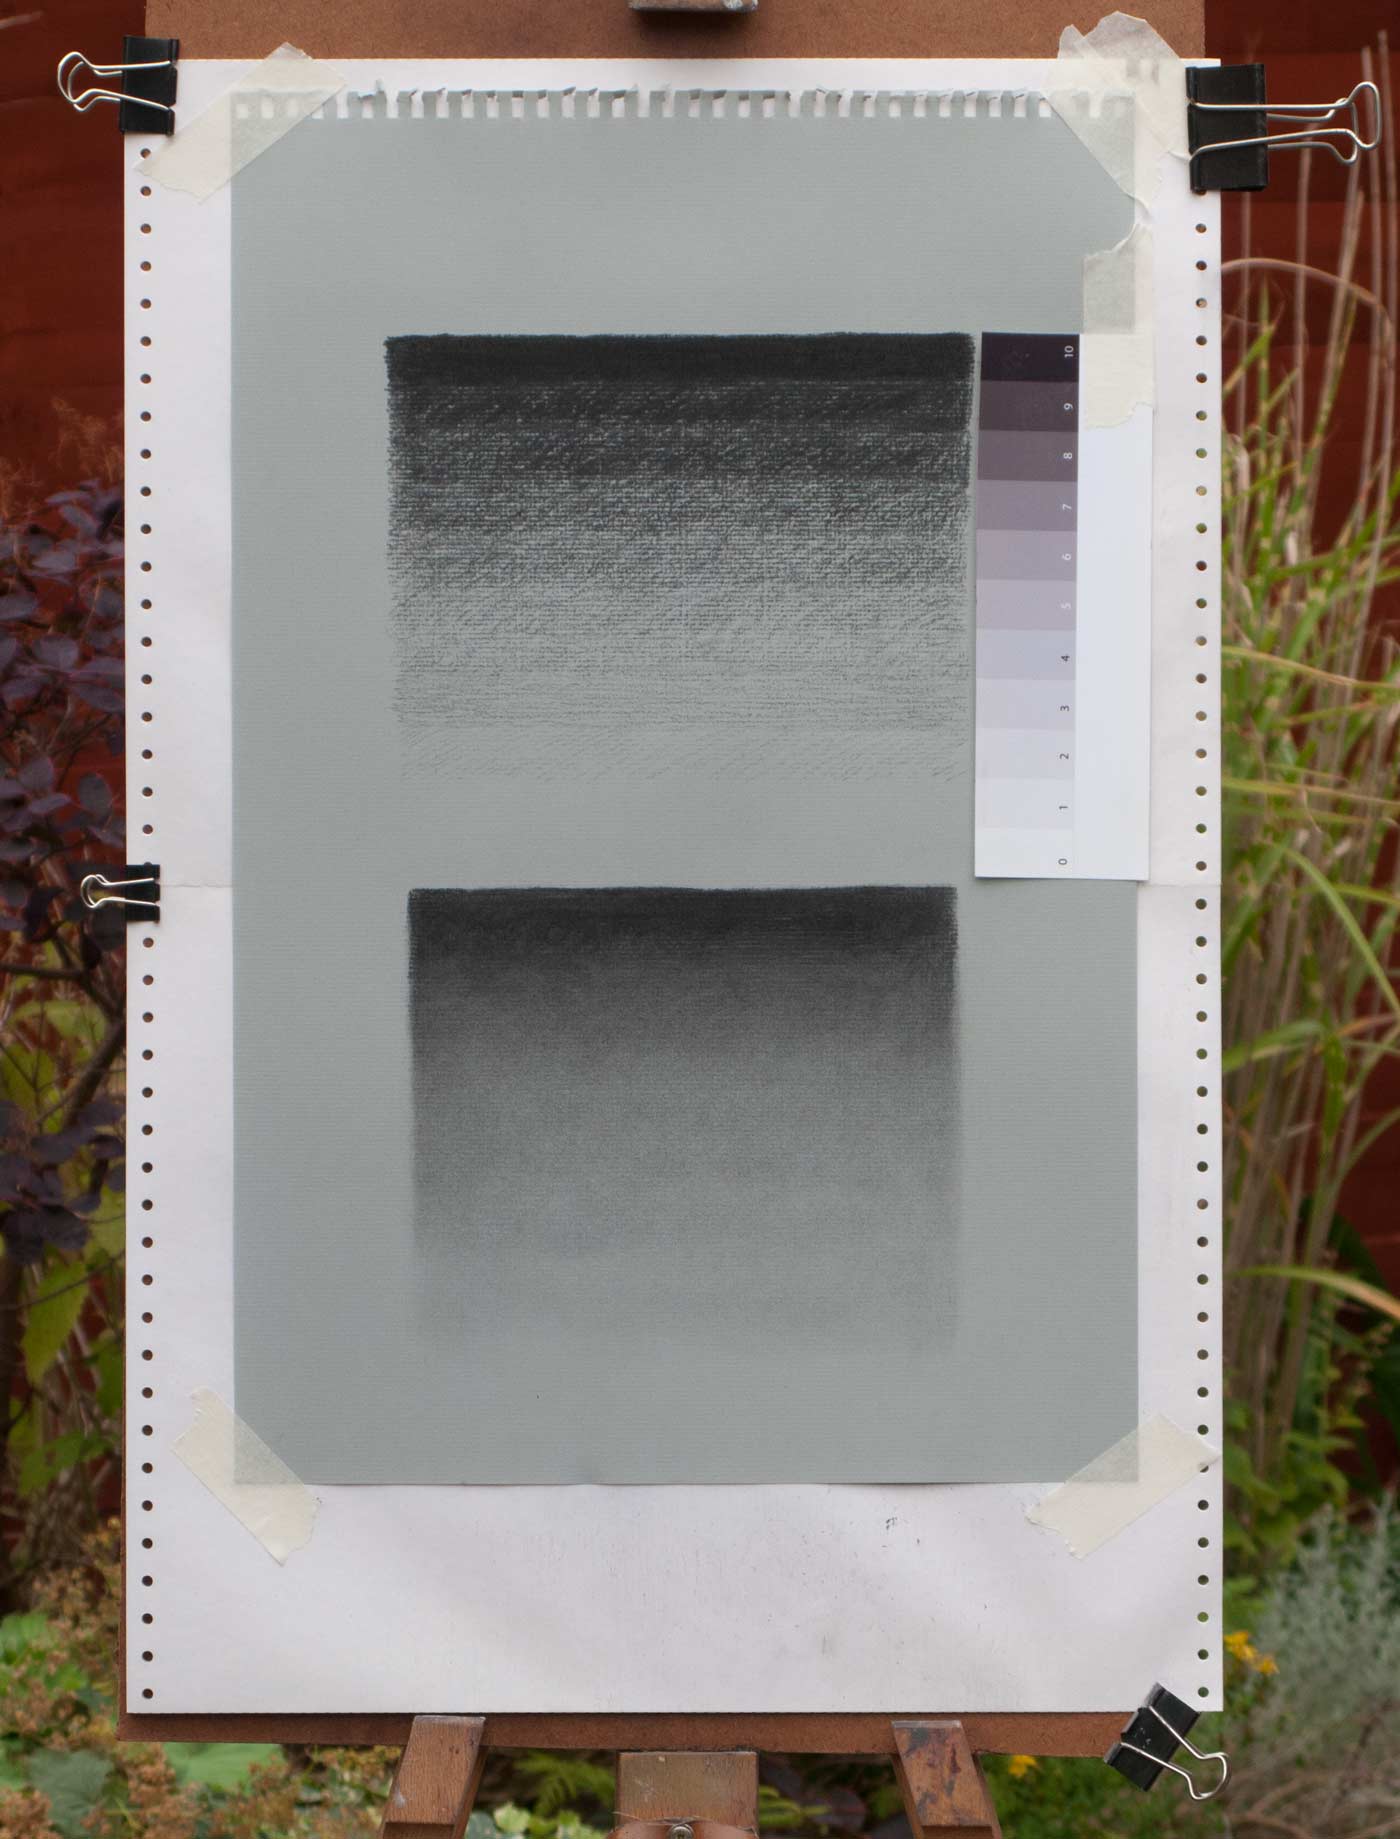
To test this, I drew tone gradients on charcoal paper (Strathmore laid toned charcoal paper), then covered the left half with a sheet of paper before spraying with fixative from an art shop (Winsor & Newton Artists’ Fixative). Here it is before spraying:
I copied the printed tone strip on the right as accurately as I could, though the toned paper meant I couldn’t go lighter than about a step 3 or 4. I drew the tones indoors in relatively dim light. When I took it outside, the printed tone strip seemed much brighter at the light end. (The effects of consistent lighting are something I need to experiment with in detail.)
The top block of tone strips were drawn by varying the pressure of the charcoal or by crosshatching. In the lower block, the charcoal was blended using a stub of kitchen paper.
You can see a slight darkening effect on the right half, especially at the bottom due to uneven spraying. You can also see my smudge tests to see if the fixative was working after each round of spraying. How you would do this on a finished drawing, I don’t know. Perhaps just give it many coats and accept the slight darkening.
Even though it was darkened, the blended charcoal tones didn’t seem to be blotchy or grainy.
After these tests, I found that:
- The drawing did darken a little, with a slightly yellowish cast, and perhaps this was more noticeable in the lighter areas.
- The darker areas needed as many as 8 or 9 coats to really hold down the thickly applied vine charcoal. Lighter areas were fixed with just two or three.
- The spray was very even and did not cause any noticeable blotching or splattering in the smooth tones.
- Getting an even coat on the paper was another matter: the slightest breeze would blow the precious spray to land anywhere except on top of the drawing.
So, when I create my vine charcoal masterpiece, I’ll be able to use fixative without being too concerned about drastically changing its appearance. (Concern about my bank balance is another matter — this stuff ain’t cheap.)


Jings Jim, that’s such a fragile medium to work in! The drawing is lovely, and part of this loveliness comes from the softness and delicacy of the charcoal, like the colours on a butterfly wing.
Thanks, Ed.
It is lovely to work with. Shame about the carpet.
On second thoughts, I’m now seeing those colours you mention, and I’m wondering if they’re photo artefacts. Zooming right in, the pixel hues range from purple through orange, right round to yellow-green. And looking at my copy taped to the wall, the paper looks way more tan coloured than the photo here suggests. More testing needed…