
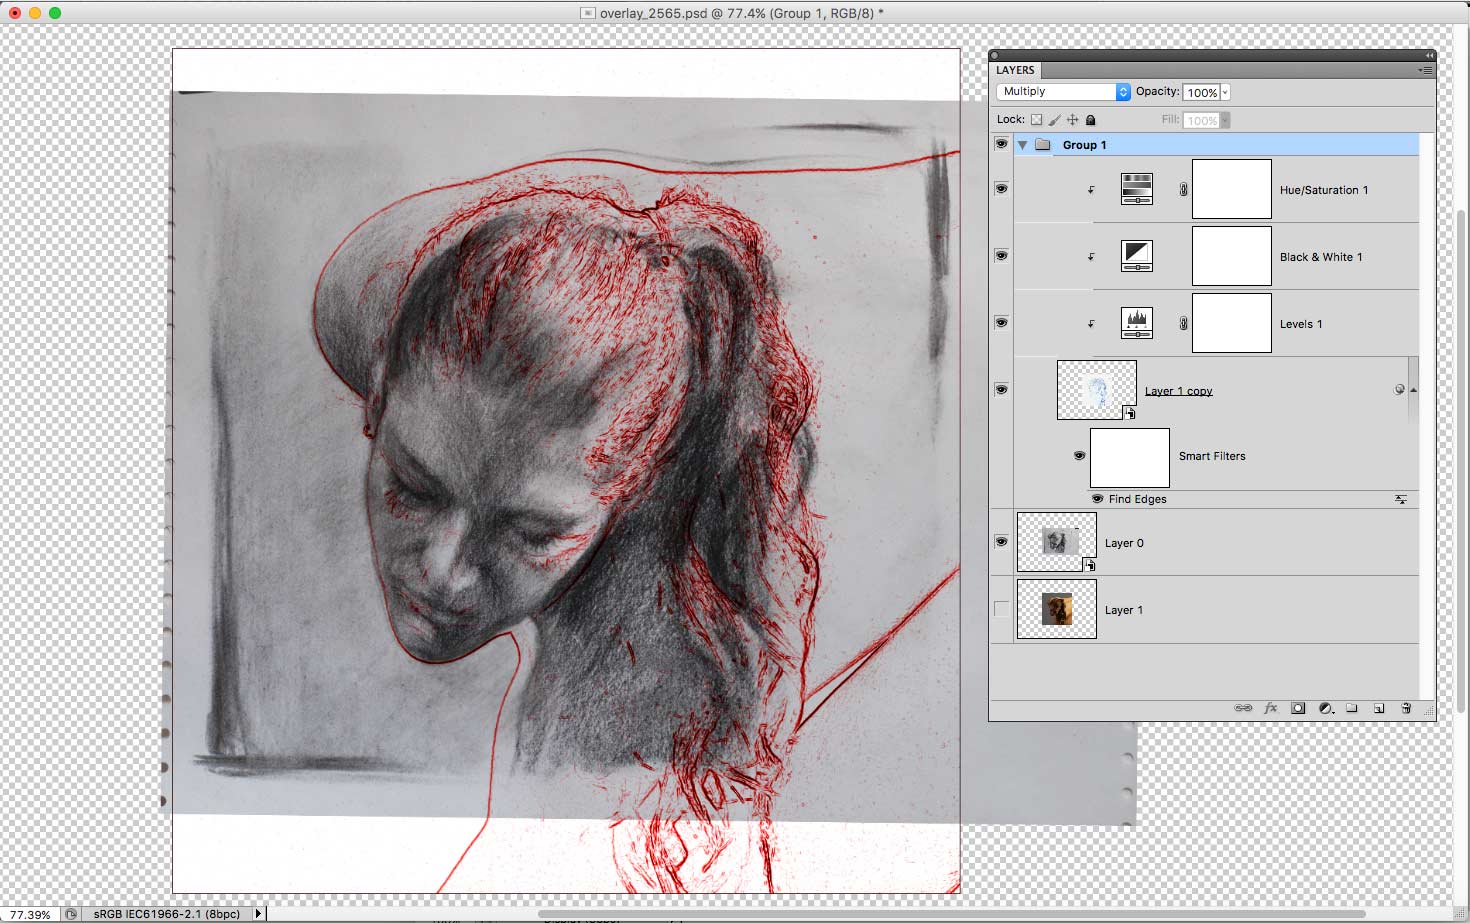

Apologies for making this post flash like the Blackpool illuminations, but I’m using a modern version of a technique used since olden times to check accuracy and proportions. Without a master draughtsman looking over my shoulder to tell me my ears are in the wrong place I’m reliant on overlaying my drawings on top of the original photo reference to see where I went wrong. Leonardo made practice drawings on glass plates to compare to the original, but I’m pretty sure he would have made use of today’s digital tools.
Usually, I take a photo of the sketch into Photoshop and simply add it as a semi-transparent layer above the original photo. Then it’s a matter of trying to align the sketch and the reference by rotating and scaling until (hopefully) the features line up. By quickly switching the layer on and off, you can compare the two.
The technique illustrated in the photos above is a little more complex as it uses a number of filters to find the edges (shown in red or white) of the features in the original photo. Usually, I don’t go to all that trouble when checking a sketch and instead use the transparent layer technique mentioned above.
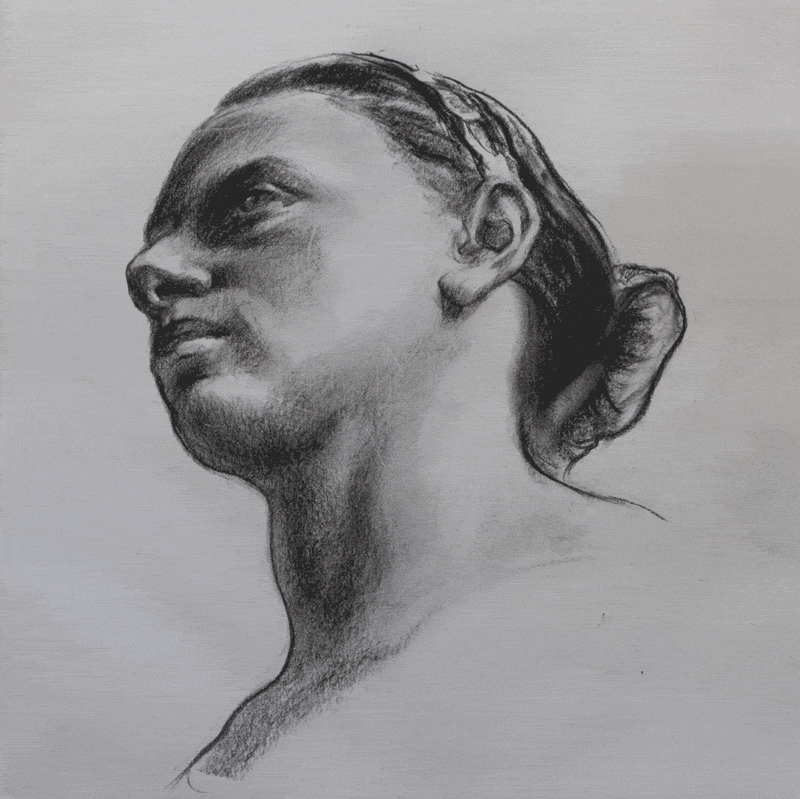
By doing this regularly I have begun to identify some of my repeated mistakes: I make the backs of heads too small, brows are too high on the skull, everything is made too wide, chins tend to disappear, hands are too short.
Once these weaknesses have been identified they can be consciously corrected. I’ve found the quickest way to improve is to concentrate my practice on the things I find the hardest to draw.
[Models courtesy of New Masters Academy.]
I admire your checking, a great way to learn, ‘reflective practise’.
Thanks Ed.
Yes, it’s useful when something doesn’t quite look right but I’m not sure where the problem is. And it helps me to be aware of where I’m likely to go wrong before I start drawing.